
Permanent DIY Christmas lights can give your home a polished glow for holidays, celebrations, and everyday accent lighting. The lights get most of the attention, but the wires can decide how clean the final project looks.
A messy wire path can make a permanent system feel temporary. Clean wire routing helps the lights look built into the home. It also protects curb appeal during the day, when the lights are off and every visible detail stands out.
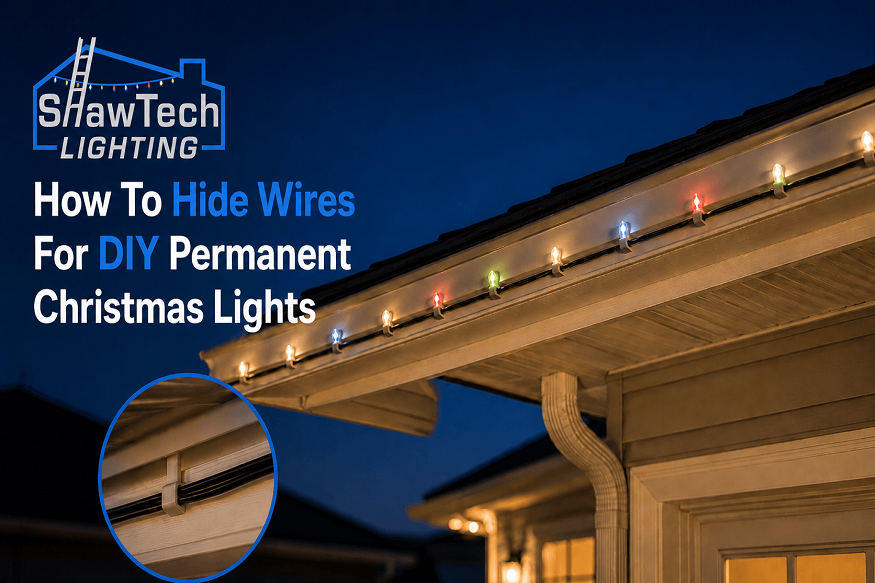
With the right plan and a quality setup from ShawTech Lighting, DIY permanent LED Christmas lights can look neat, organized, and professional from the driveway.
Why Wire Planning Matters
Many homeowners start by measuring lights along the roofline. That step matters, but wire planning should happen at the same time. The controller, power supply, roofline sections, corners, gaps, and entry points all affect how wires move around the home.
Read More : Exploring Artistic Expression Through Pool Tile Designs
Good wire planning can help:
- Reduce visible cable runs
- Protect wires from weather exposure
- Keep corners and transitions cleaner
- Make the system easier to service
- Improve daytime appearance
- Support reliable power delivery
- Create a more finished DIY result
A clean wire plan makes the entire installation feel more intentional.
Start With A Full Roofline Map
Before placing the first light, sketch the home’s roofline. Mark each section where lights will go. Add peaks, gables, dormers, gutters, downspouts, soffits, fascia boards, porch areas, and garage edges.
Then mark where power and control equipment can be placed.
| Planning Area | What To Mark | Why It Helps |
| Roofline Runs | Straight sections and peaks | Helps calculate wire movement |
| Gaps | Dormers, breaks, and non-lit areas | Shows where jumpers may be needed |
| Power Source | Outlet or planned power access | Guides starting point |
| Controller Location | Garage, attic, or covered area | Helps reduce exposed wires |
| Hidden Paths | Soffits, trim lines, attic routes | Keeps the install cleaner |
| Service Points | Connectors and access areas | Makes future fixes easier |
A simple map can prevent awkward wire paths later.
Choose A Smart Starting Point
The starting point affects how much wire remains visible. Many homeowners begin where the roofline looks easiest. A better choice is often the location closest to power, controller access, and a discreet path to the first track section.
Good starting points may include:
- Near a garage outlet
- Inside a garage
- Near an attic access point
- Under a covered porch
- Near a soffit entry
- Behind trim or fascia transitions
The starting point should support both function and appearance. A few extra minutes of planning can prevent long visible cable runs across siding or trim.
Use Existing Exterior Lines
The cleanest wire paths usually follow the home’s existing lines. Siding edges, trim boards, soffit seams, gutter paths, and fascia transitions can help wires blend in.
Avoid running wires across open wall areas when another route exists. Open spaces make wires stand out, especially on light-colored siding.
Good Wire Routing Paths
- Under soffit edges
- Along fascia lines
- Behind trim boards when accessible
- Near gutter runs
- Inside attic spaces
- Through garage-to-soffit access points
- Along shadowed corners
- Behind downspouts when safe and practical
The goal is to let the home’s architecture hide the system naturally.
Hide Jumpers Between Sections
Jumpers are wire runs that connect one lit section to another. They are useful around roofline gaps, dormers, peaks, and areas where lights are not needed.
A jumper should be planned so it does not hang loose or cut across a visible surface.
Cleaner Jumper Ideas
- Route through the attic when possible
- Follow soffit seams
- Run along trim edges
- Keep jumpers tight and secured
- Use color-matched cable coverings if needed
- Avoid loose loops near corners
- Label hidden jumpers for future service
The cleaner the jumpers are, the more permanent the system will feel.
Keep Wires Secure Without Over-Tightening
Wires should be held in place, but they should not be strained. Outdoor materials expand and contract with weather changes. A wire pulled too tight can create stress at connectors or corners.
Use mounting clips or cable management pieces suited for exterior use. Keep spacing consistent and avoid sagging.
Wire Securing Checklist
- Keep wire runs neat and straight
- Avoid sharp bends
- Leave a small amount of service slack
- Keep connectors supported
- Protect wires near edges
- Use outdoor-rated materials
- Check movement after the first few weather changes
Secure does not mean forced. A clean installation should allow the system to sit naturally along the home.
Pay Attention To Corners And Peaks
Corners and roof peaks are common trouble spots for DIY permanent Christmas lights. Wires can become visible, uneven, or bunched if the path is rushed.
At corners, plan where the wire turns before attaching the track or lights. At peaks, keep the wire path consistent with the roof angle. If extra wire is needed, hide it in a protected area rather than leaving a loop at the edge.
Corner Planning Tips
- Measure before cutting or fastening
- Keep connectors away from the most visible face when practical
- Use clean bends
- Keep wire close to trim lines
- Secure both sides of the turn
- Review from ground level before moving on
Corners can make a DIY installation look sharp when they are handled carefully.
Keep Power Equipment Out Of Sight
Power supplies and controllers should be placed where they are protected and accessible. For many homes, a garage, attic, utility area, or covered exterior space works well.
The location should allow the system to connect cleanly to the first lighting section without a long exposed wire path.
Good Equipment Location Traits
- Protected from direct weather
- Easy to reach for service
- Close to power
- Close to the start of the light run
- Safe from foot traffic and stored items
- Away from water-prone areas
A hidden controller setup helps the project look finished from outside.
Use Color To Your Advantage
Wire color can affect visibility. A white cable may blend with white soffits, while darker cable may work better near dark fascia or trim.
Read More : Understanding Ballistic Panels: Essential Insights for Enhanced Safety and Security
If wires must be visible in small areas, color-matched cable covers can help. Keep these covers straight and minimal so they look like part of the exterior.
Final Thoughts
Hiding wires is one of the most important steps in creating a clean DIY permanent Christmas light installation. It makes the system look better during the day and gives the home a more polished finish at night.
A strong wire plan starts with a roofline map, a smart starting point, clean jumpers, secure cable paths, and hidden power equipment. With patient planning and a reliable setup from ShawTech Lighting, DIY permanent LED Christmas lights can look organized, durable, and built for year-round use.